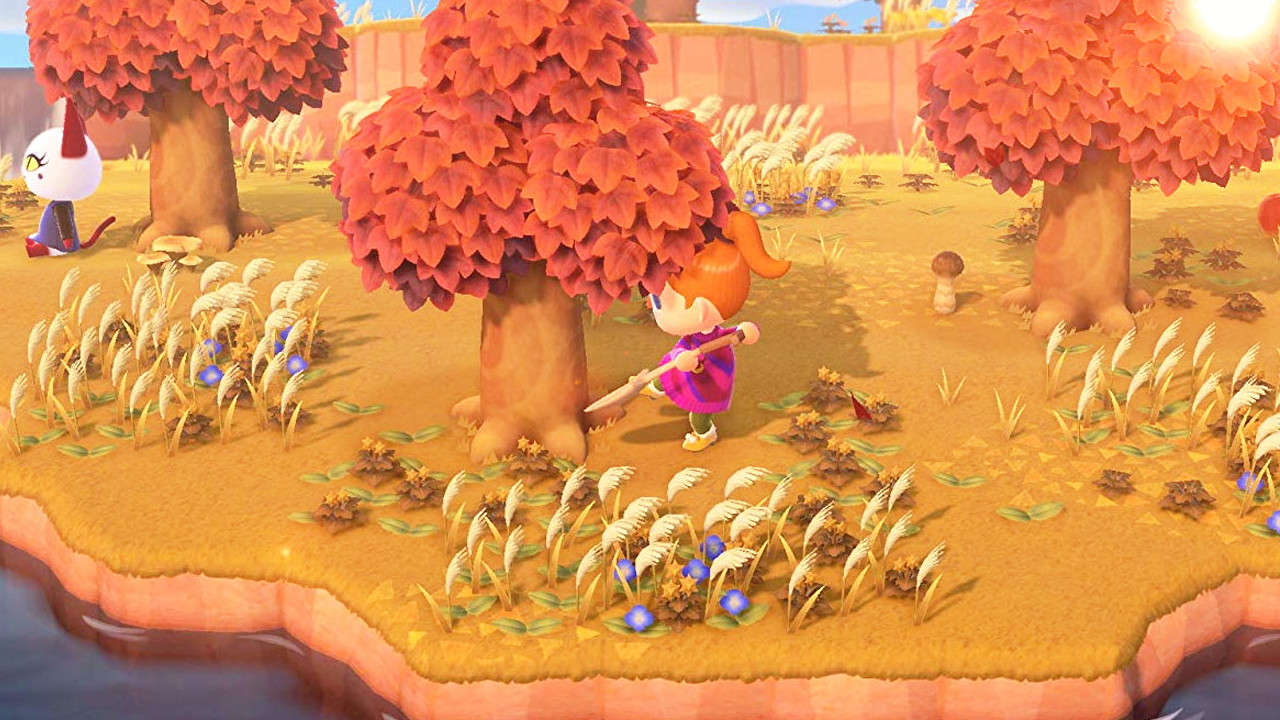
Starting a new life on a deserted island can be a daunting task. With Animal Crossing’s open-ended nature, it can be easy to get lost on an island getaway. Gaming Instincts is here to help players get started on the right foot, and maybe even a new house!
Choosing the Perfect Island
Before players embark on their getaway, they must handle some basic profile building. These include naming the player avatar, assigning birthdays, and picking an island. Among these, the island will be the most vital decision.
The game offers four islands to choose from. Take note of the way rivers stretch out on the island. Areas divided by rivers will be initially unavailable for players to access early game, so pick wisely.
Once the island has been settled upon, the next task is to decide which hemisphere it resides on. Choosing the hemisphere closest to players’ real life locations is highly advised.
With that, it’s time to set sail for the deserted island!
Starting Up
Once players arrive on their new deserted home, Tom Nook will take residents to the island square for a briefing. The first task involves picking out the perfect spot for your tent. Pick somewhere dense with trees and rivers, areas ripe with resources. The game will provide a preview of the tent’s appearance in an area before settling.
After you have finished picking a spot, Tom will advise players to hunt out spots for the other islanders. The decision can be left to the islanders or users can pick a spot they deem appropriate. The choice is theirs.
After the housing situation is handled, Tom will task players with collecting branches for a campfire. These branches can be found littered around the ground. Shaking trees by pressing the ‘A’ button is also another viable option in obtaining branches. Trees containing fruit will also drop their fruit after a good shake.
Regardless of the amount Tom requires, nab as many as possible. Branches and other articles will be necessary for future crafting ventures and can net some Bells for those scarce on money. In short, pick up everything!
Once players return to the camp square, Tom orders them to collect fruit for a toast. If fruit’s already been collected, this process can begin right away. This leads into the island’s opening party in which Tom tasks players with naming their island. Take some time to come up with something cute.
With that done, the first night on the island is over! Almost.
During the party, players are free to explore and collect weeds and branches as to their heart’s desire. However, they’ll still be bound by the rivers that surround them. These are not yet traversable.
Once players have had their fill taking in their new surroundings, talk to Tom back in the square and tell him you’re ready to retire for the night. Players will then go to their tent, unpack all luggage and begin their new life on the island.
Accrued Debt
At the get-go of the player’s new life, Tom will inform them of the massive debt they owe for the deserted island getaway package. However, this is nothing to worry about thanks to New Horizon’s innovative system: the Nook Mileage Program.
This app is found on the smartphone Tom gives to residents on their first real day. It will become instrumental in paying off their debt. The Mileage Program offers various tasks and challenges allowing players to collect “miles,” the program’s point system, taking the place of player’s debt.
Instead of the initial price tag of 49,800 bells, the player now only has to pay 5,000 miles, which can be easily earned through the Mileage Program.
Mileage Program
Miles are earned by performing a variety of chore-based tasks. From fishing to picking up weeds, each of these activities accrues miles.
At the start, players won’t have any tools to work with, so we highly recommend tackling easy tasks like uprooting weeds, taking pictures, and creating custom decal designs.
Among these, taking pictures and creating custom designs can be done from the player’s smartphone. Take time in crafting masterful pieces of photography and artwork, or for those in a hurry, settle with anything. The game doesn’t care.
Other immediately accessible mile activities include editing the player’s passport and leaving a note in the camp square. Simply place a descriptive word or a new photo in the passport to earn mileage points. To leave a note, head to the camp square’s bulletin board, press ‘A’ next to it, and a note writing prompt will come up. Feel free to write up anything.
With those tasks out of the way, it’s now time to meet up with Tom and get some tools. He can be found in the camp square’s large green tent. Timmy and Tommy reside here too, the former acting as the island’s store. Timmy will take any unneeded junk off users’ hands and sell furniture, seeds, and DIY recipes—an essential part of island startup, which we will get to in a second.
Speak with Tom. He’ll provide instructions on making a fishing pole, the game’s first tool. It is crafted by using five branches, which the player should already have if they vigilantly collected everything on the ground. With the materials, head to the crafting table next to Tom and make the fishing pole.
Crafting is an essential part of the early-game, especially due to the flimsy nature of all early tools. They will break after 10-20 uses, requiring replacements.
Once crafting is finished, Tom informs players of the DIY app on their smartphone. With this, they can now learn new crafting recipes they find in their adventures, which can be used to make more tools and custom furniture. Timmy will have several available for purchase immediately.
Continual work with Tom earns players more tool recipes, like the axe, which open new crafting avenues.
Using the axe on trees yields different types of wood. Using the axe on large stones will do… nothing, UNLESS the player has eaten island fruit.
Fruits found throughout the island do more than just provide bells for residents. Fruits can be eaten for energy boosts. With said boost, players can smash apart rocks with axes to collect rare ores and stones.
It is highly recommended for the player to build DIY crafting workbenches. These benches provide the same service as the crafting table in Tom’s tent, but these have the benefit of .
Timmy has an item named “DIY for Beginners.” This recipe will teach players how to make these benches of themselves. Take advantage of it immediately.
With the crafting issue out of the way, prioritize using the bug net and fishing pole. Catching bugs and fish helps build mileage points and are necessary in the next big part of the player’s island getaway: building a house.
Homemaking and More
This will be the immediate end game for beginning players. Houses are a direct upgrade from the starting tents, allowing more space for furniture and other belongings. House purchasing is only accessible after the player has accumulated and offered 5,000 mileage points to Tom.
Upon doing so, Tom asks players if they’re ready to upgrade. There is a hefty loan involved, but there’s no need to worry. This can be paid off later. Once decided, Tom congratulates players and upgrades their Mileage Program membership.
The mileage points the player earns may have been initially used to pay off debt, but can also be used to purchase various cosmetics, upgrades, and amenities. The upgraded Nook Miles+ gives players more purchase options in the ATM terminal found in Tom’s tent. This new upgrade offers new tools, new mechanics to make tool-switching easier, and plane tickets for island travel, which were all previously inaccessible.
With that, congratulations! You have now completed the first step in building your island dream home! The house will be built the next day.
Your First New Islander and Facility
During this homemaking time, it is easy to forget that the island isn’t just for players but other islanders as well. Players begin with only two other island residents, but can work toward obtaining more in addition to facilities that come with these new guests.
The first facility players can work toward is the museum curated by Blathers, a good friend of Tom Nook.
To get started on this quest, give all captured bugs and fish to Tom, who will then send the caught specimen to his friend. With enough donations, Tom informs users that Blathers has decided to live on the island. He will then give players Blathers’ tent, telling them to place it somewhere with a lot of space. With enough time, Blathers’ residence turns into a museum for housing all the player’s caught critters.
Pick a spacious location next to a river for Blathers. After his tent is set up, this gives players easy access to freshly caught insects and fish. Blathers joins your island shortly after his tent is set. Save the game, quit, and come back. Blathers should have arrived by then.
The eccentric curating owl is quite the erudite. He accepts any new animal species for his eventual museum and offers players a brief lesson on each animal given to him. He’s also quite interested in the deeper parts of the island as well as the natural treasures–like fossils–they hold.
He will provide the DIY recipe for the pole vault and shovel once the player donates at least once. The shovel is necessary for digging up animals and fossils while the pole vault tool is an absolute essential for island life.
The once inaccessible areas of the island blocked off by rivers are now finally accessible. With the pole vault, players can leap from coast to coast without hassle, freeing up the rest of the island.
With this, much of the island is now ready to explore and conquer. Islanders have worked toward getting a house and readying a new facility for the public, provided players continue donating critters to Blathers.
There is so much more to explore and do on this deserted island. However, we hope that this guide will set you in the right direction on building a more comfortable and fulfilling start to an island getaway.
No related posts.


