
Mortal Kombat 11 In-Depth Krypt Guide (Updated)
Mortal Kombat 11’s Krypt is a place where players can gather chests in order to gain unlockables for their characters. This time around you play as Traveler who came to Shang Tsung’s island for unknown reasons. After Shang Tsung greets you, he gives you two free chests containing 50,000 Koins and 100 hearts each, after that you are free to explore his island.
Before Starting
Your main currency for opening chests/Soul Vaults are Koins, Soul Fragments, and Hearts.
Treasure chests will generally contain random item. Depending on the price, you can get better items. For example: a 2000 Koin chest will probably contain a crafting equipment and an Icon while a 10,000 Koin chest will most likely give rarer character equipment or skins.
Soul Vaults/Soul Cairns are these glowing green spires that require a certain artifact to interact with them. Otherwise they generally require 100 Soul Fragments to interact with.
Flaming Chests will require players to put out the fires by destroying a nearby lantern and will cost around 100 hearts.
Shao Kahn Chests will require the player destroy the helmet sitting on top of chests with a simple hammer swing. It will then be available to open for 250 hearts.
Kronika Vault Chests, only cost 5,000 Koins and will appear randomly around the Krypt. They’re easy to spot as they clearly glow white in the distance. They generally contain rare cosmetics.
Skeleton Keys are a commodity here. Make sure you spend these things wisely as a few doors require them to fully explore the Island. If you don’t have any, they appear randomly in chests. That being said, you’re better off opening cheap 1,000 – 3,000 Koin chests as they tend to appear with low-tier items.
Palace Entrance
The very first item you’ll encounter is Shao Kahns’s Hammer. As you can imagine it can destroy certain walls and gates. This will come in handy for the rest of your stay as several things in the island need a proper wacking.
In front of you, you can destroy both the broken gate in front of you, and a crumbling wall to your right wich will take you to the Dead Woods.
The Dead Woods
The Dead Woods has several Soul Spires strewn about. Unless you have a certain amulet, you can’t interact with them. Theres’s also a flaming chest and Shao Kahn chest lying around in plain sight.
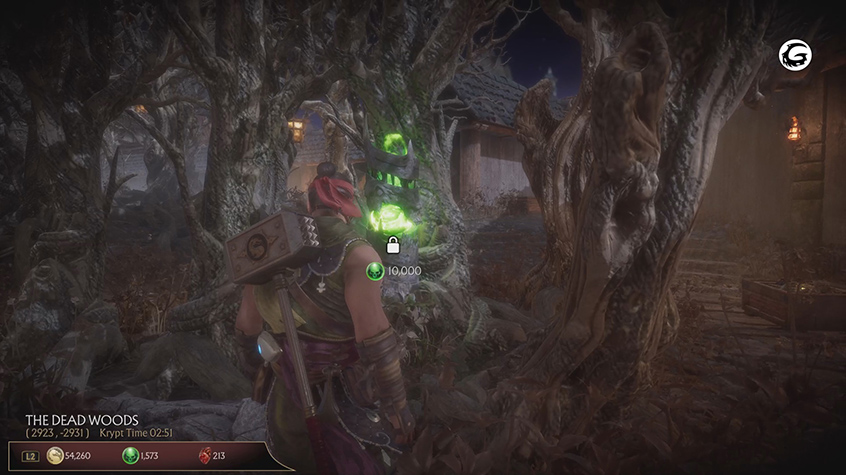
There’s also a particularly big Soul Vault within the trees that costs 10,000 Soul Fragments, which contains an Ensorcelled Gem of Trapped Souls which is used to craft an amulet later on.
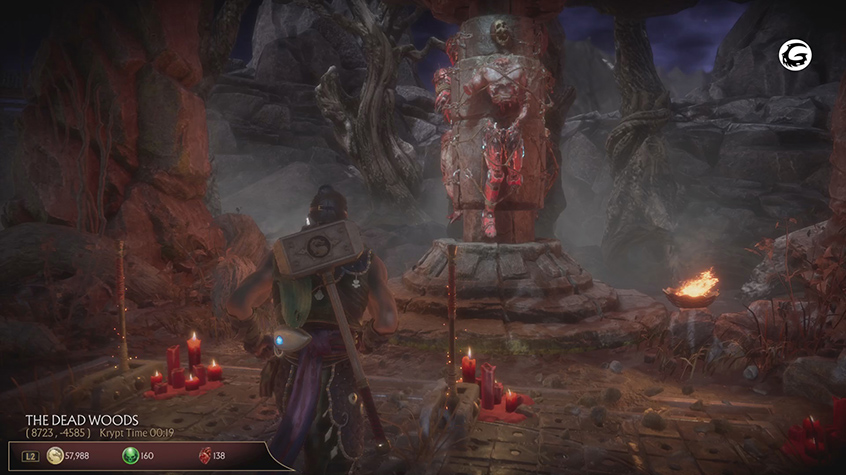
Follow the path and there should be a Flaming Chest which requires you to destroy a lantern under the gazebo with Scorpion’s Spear which you don’t have at this point. Also near the entrance is a Shao Kahn Chest.
Near the end of the forest right next to the bridge towards the gazebo area is the pillar puzzle with three levers in front of it. The main goal is to either match up the demon, or Sektor’s robot body. The lever on the left moves all 3 of the pillar parts, the middle lever moves the top two parts, and the right lever moves the bottom two parts. The puzzle is fairly simple and doesn’t need a whole lot to explain. Just don’t match the skeleton or else you’ll set off a trap. If you’re successful, you gain access to a Shao Kahn Chest!
Central Courtyard
To the left of entering the Courtyard is Kronika’s Time Vault, which can be used to reset any used chests and fills them back up again. Also next to this is a wall you can break, with Shao Kahn Chest on the other side and another breakable wall. More importantly you can hit the Gong in the area to open the gate leading to The Forge and the Pit Bridge. Now you can head out and visit The Forge.
The Forge
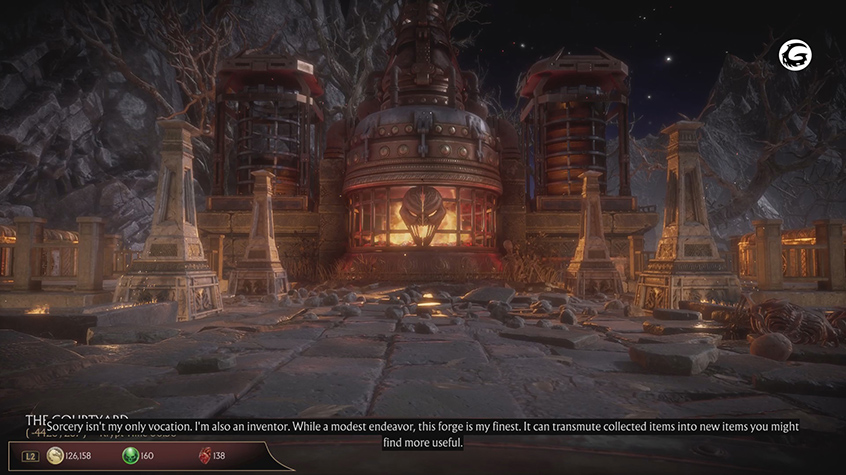
Heading straight out of The Courtyard through the recently-opened gate will take you to The Forge. You can Kombine forge items in order to create something more useful, like Konsumables and certain Key items for the Krypt. These will cost some Koins and souls, so make sure you have enough money. The Forge will only use up items if they actually create something. Recipes that are found in chests will tell player exactly what they need, though it’s still random when you’ll find one.
If you go up the Pit Bridge you will see that you need 2,000 Soul Fragments to fix it. This will lead to a locked door leading to a Shao Kahn chest.
Mountain Pass
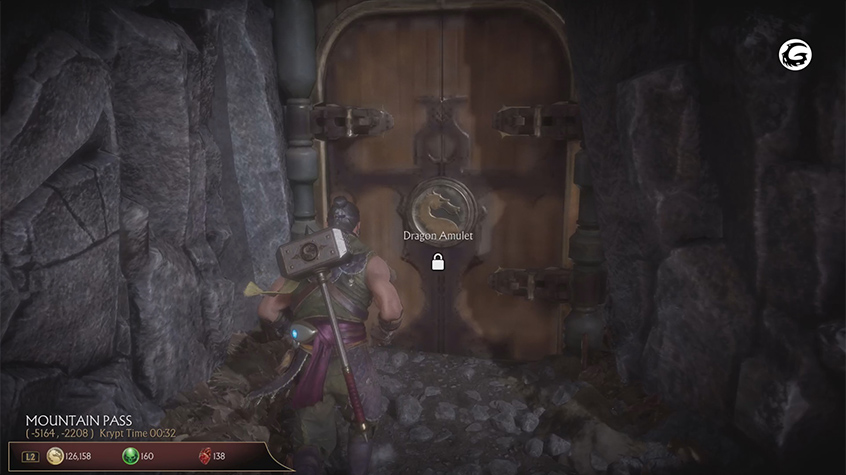
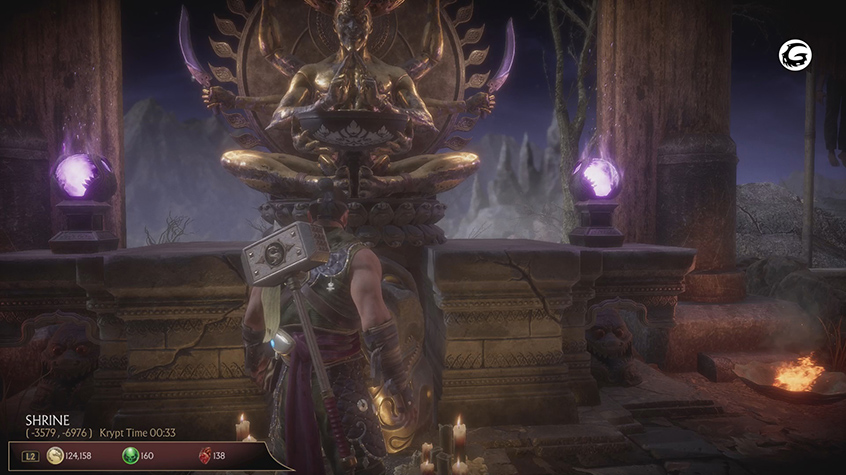
Take the wooden bridge to the right and in the middle is a door which requires a Dragon Amulet to open. So ignore it in the meantime and continue on the bridge. At the end you’ll encounter a twisted tree pointing towards The Shrine. The shrine requires money, and you probably have a lot of it. For the first time just pay it 1,000 Koins and you’ll automatically get Kronika’s Amulet. You’ll need this for a later puzzle so keep it safe.
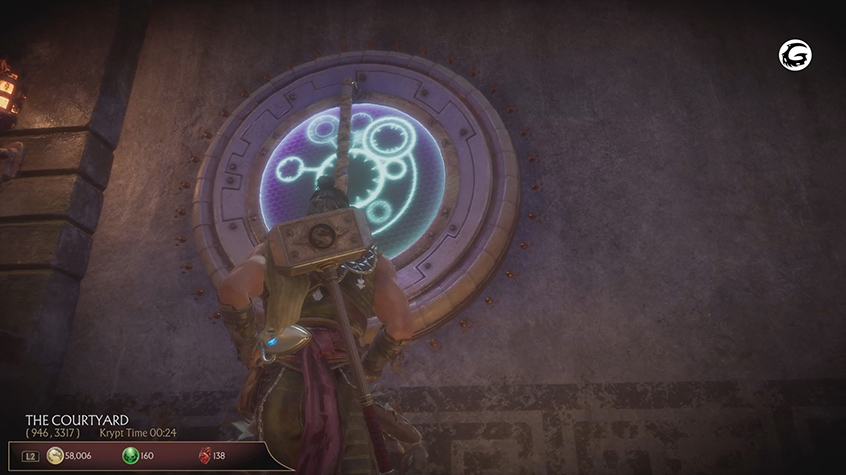
To the left of the statue is a path that leads to a closed gate, head down a bit more and you’ll find the dragon puzzle with three levers to rotate the pieces. Simply enough pull the left lever once and pull the one on the right twice to finish it quickly. If you mess up, don’t worry it’s all about just rotating the pieces. Once this is done you will get some Koins and Soul Fragments. You’ll also open up the previously closed gate and a bridge that requires you to destroy two lanterns with Scorpion’s Spear. Also further down the path from the puzzle are a Flaming Chest and a Shao Kahn Chest.
When you’re done here head straight out past the Money Shrine and head out to the Warrior Shrine.
Warrior Shrine
Immediately entering the area you’ll notice the large statues of Mortal Kombat characters to your left. A cutscene will play where a volcanic rock destroys Raiden’s Statue. If you hit the rock with your hammer, you will be given a Gem of the Living.
If you want to fix the statue, just clear the Tutorial Towers in The Towers of Time to gain the Amulet of Earthrealm’s Protector. If you do this you can interact with Raiden’s Statue and you’ll get Raiden’s Shattered Staff. This will be used to open up a door later on.
Head behind the statues and hit the gong on their right side and you’ll open up the other gate back to the courtyard here.
Also there’s spikes across from the statues that you need to place characters’ heads on. In order to get a head you need to do 50 fatalities on a certain character in the Towers. The only head you need is Cetrion’s head in order to get Cetrion’s Amulet.
Also there’s a puzzle involving a Shao Kahn Chest stuck clearly behind a gate and further down to The Sacrifice is a puzzle involving an empty lantern. You’ll just have to return here later since you lack any of the items.
The Gardens and The Vault
Go back to the area where you rang the first Gong and open the door to your left using the Gem of the Living. This will lead you to The Gardens.
There is a Flaming Chest and a Shao Kahn Chest here and if you hug the left side you can see a wooden door that needs to be broken down leading to The Vault.
This is a short and small area containing two levers. The lever to the left will open up a shortcut to the palace entrance while the lever to the right opens up the vault. Within the chamber are some chests along with the Cracked Horn of Motaro which you’ll need to open up Goro’s lair near the Warrior’s Shrine.
Goro’s Great Hall
The entrance to Goro’s lair is short, but contains a few chests locked behind locked doors. Head down the elevator and you’ll enter Goro’s Great Hall.
To your right is the door of the one being which you need three Fragments of the One Being. You need to perform 10 Fatalities, Brutalities, and Mercies in the Towers to get the Mind, Heart and Soul of the One Being. Behind the door are some fire traps, some locked doors, and an 80,000 Koin Chest which contains the Heart of Blaze that can be used to solve The Sacrifice puzzle later.
To the left of the entrance of the Great Hall is a door you can open using the chains beside it. To the right before entering the Kollector’s Room is a locked door that contains an elevator leading back to the Palace entrance.
The Kollector’s Room may contain the Kollector, sometimes he won’t be there but if you have a Kollector’s Koin Konsumable, you can call him immediately. He will show you a random assortment of items including character equipment and Tower Konsumables. He will require you to trade them for a unique item in your inventory, which can be randomly found through chests.
Goro’s Throne Room
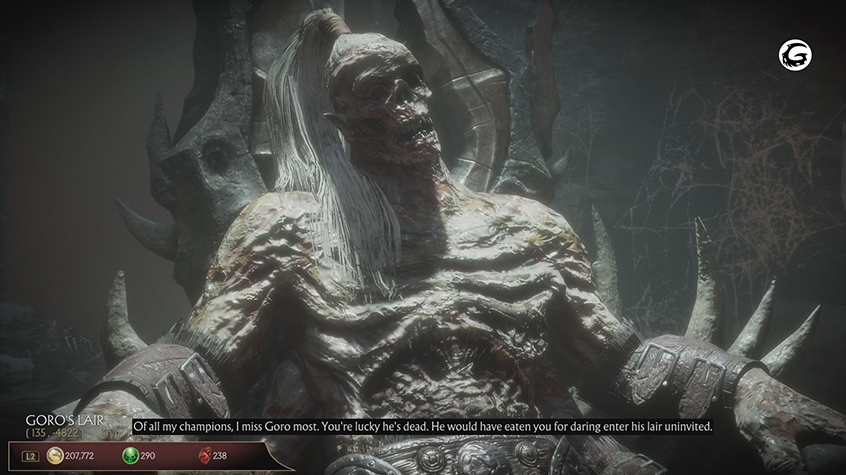
Goro’s Throne Room contains several entrances. To your left facing the throne is Goro’s Dining Hall and to your right are two entrances. The one to the right behind Goro will lead to The Armory while the other entrance next to it leads to Goro’s Treasure Chamber.
The Armory
Taking the entrance leading to The Armory will lead you to a small little hallway containing a Flaming Chest. Continue on and you can easily open the gate to the actual Armory. Straight ahead is Scorpion’s Spear which you can use to destroy lanterns and grab hanging bodies for extra hearts. You can also put out Flaming Chests by destroying a lantern associated with it. They’re usually nearby while some are cleverly hidden.

After grabbing the spear you’ll be trapped, but a lantern you can destroy right above the gate will open it again. You can also destroy the lantern near the Flaming Chest in the hallway.
Goro’s Treasure Chamber
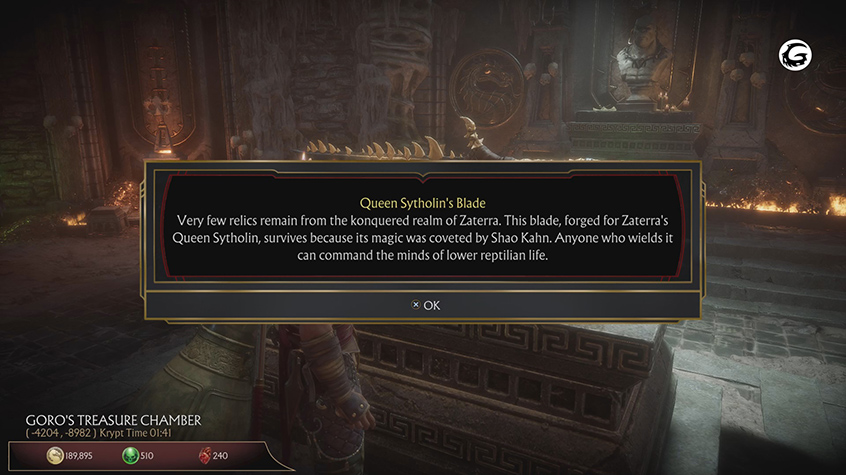
If you head to the other entrance near the hallway to The Armory, you can head towards Goro’s Treasure Chamber. The room simply contains several artifacts from previous characters in the series. You can’t take them with you, but they do provide a lot of lore.
If the player heads out further, they enter The Jails. The room here is filled with both chests and pools of blood. Occasionally an angry spirit will come out to scare you, but that’s it.
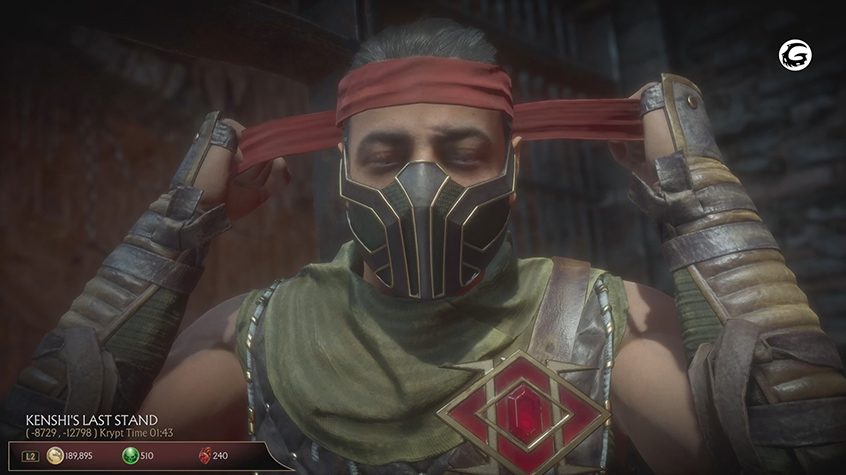
Further down the way you’ll come across Kenshi’s Last Stand, it seems that Kenshi was battling a legion of Oni before dying. If you interact with him, you can grab Kenshi’s Blindfold. With this new item you can find secret treasure chests, hidden breakable walls, and encounter angry spirits. Angry Spirits will try to kill you as soon as you put on the blindfold so simply take it off fast or attempt to hit the spirit for a unique Sub-Zero skin. Unfortunately it will deplete a couple of Soul Fragments with every use, so don’t keep it on for too long.
The entrance will close on you and you have to use the blindfold to break open a hidden wall in the room, near the entrance. That way you can exit back to Goro’s Throne Room and head straight, open a gate, then head to Goro’s Dining Hall.
Goro’s Dining Hall
The dining hall is big, full of chests. If you head towards Goro’s statue you can wrap around to the opposite side on the second floor and destroy a lantern to get the Flaming Chest near the entrance. To the left of the statue is a locked door which will leading to a room full of traps.
Straight south from that is an entrance leading to the Chamber of Suffering. Southwest of that entrance is an elevator that will take players to The Lower Pit.
Chamber of Suffering and Lower Courtyard
Straight ahead entering the new jail area is an obviously blank wall that needs a blindfold to destroy. Here you can use the elevator to take you up to the lower part of The Courtyard. This new area contains several chests including a Shao Kahn Chest.
To the left of entering the jail area is the Chamber of Suffering which requires a Skeleton Key to open. The chamber has several chests including one Shao Kahn Chest.
The Lower Pit
In Goro’s Dining Hall just go to the Southwest corner and open up the gate with the chains. Along the path is a Shao Kahn Chest and an elevator taking you to the lower parts of The Pit at the end.
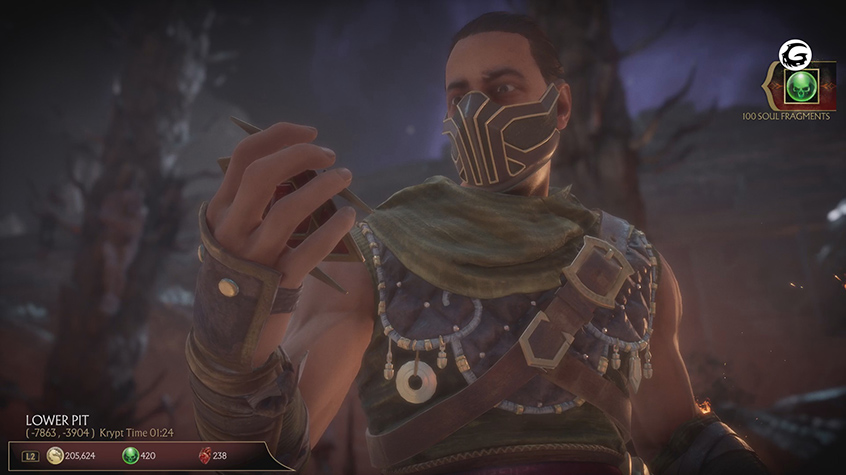
As soon as you enter, Ermac will fall down and land on some spikes. Take Ermac’s Amulet of Souls from his body. This will allow you to finally interact with the green glowing Soul Vaults for some Souls. You can also interact with anything else that glows such as the cave-in that happened recently behind you.
Also in here are a dead body in one of the Gargoyle’s mouths, a Flaming Chest and a Shao Kahn Chest sitting between two fires.
The Torture Halls
Have a couple of Skeleton Keys ready and head North of Goro’s statue in the Dining Hall. Use a key on the door and traverse the traps. You can die here, so watch out for the swinging axes. If you get past the first set of blades, you can walk back out to the Dining Hall by pulling the chain, which will temporarily stop the blades from spinning.
After continuing down past the second set of spinning blades, look for a locked door with a seemingly empty room. If you put on your blindfold, you can see that there’s something behind the room’s wall. Open it up with a Skeleton Key and you can find a secret room with a few chests, a Shao Kahn Chest and a statue. If you interact with the statue, you’ll encounter Reptile.
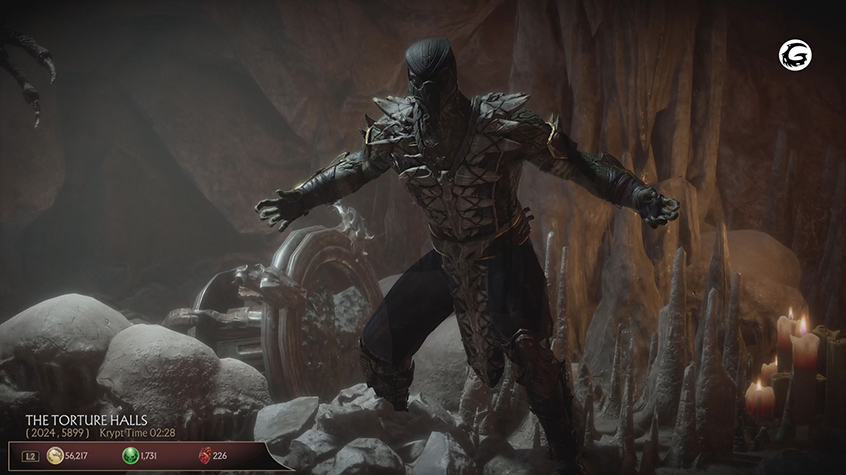
Reptile will now appear in several different areas of the island including The Palace Entrance, The Courtyard, or just around Goro’s Lair. You can only see him if you put on Kenshi’s Blindfold and additionally you can hear him dig around. If you wack him with your hammer you can get a unique Scorpion outfit!
Now back outside you’ll see a silhouette of a man behind bars. To the left of him is the entrance to Goro’s Fortress and to the right is the entrance to the Kytinn Hive.
Goro’s Fortress
To enter the fortress, use Raiden’s Shattered Staff on the door to open it up. You can see that the room is full of traps, lava, and more importantly chests!
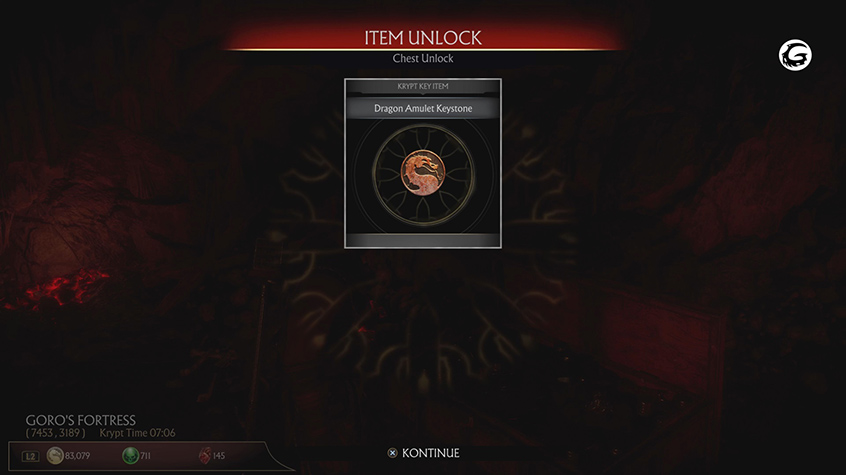
While you can move forward and go straight to the Fortress Treasure Chamber to pick up a Shao Kahn Chest, the area to the left contains a lone chest that is worth 20,000 Koins. Grab this and you’ll get the Dragon Amulet Keystone which is used to open up the door on the Mountain Pass.
Kytinn Hive
The Kytinn Hive is pretty straightforward. The spiders lurking around will try to kill you with their fire. If you’re fast enough you can hit them before they burn you. You will gain a D’vorah skin and will have a chance to get an Enscorcelled Eye of a Dragon which you’ll need to craft Shinnok’s Amulet. Additionally, you can attack the spiders on the walls and ceilings with Scorpion’s Spear.
Aside from the spiders and being burned alive, there’s a Shao Kahn Chest and a Flaming Chest near the end of the areea.
The Sacrifice and Shao Kahn Chest Puzzles
With The Heart of Blaze and Scorpion’s Spear you can complete The Sacrifice. All you have to do is lower the giant lantern, put The Heart of Blaze in it, lift it back up, and hit it with Scorpion’s Spear. You’ll then have access to the two chests locked behind the gates.
After you’re done with this puzzle head to the building right outside. The puzzle seems to require that you pull 4 chains in order to open up the gate leading to the Shao Kahn Chest. The only problem is that there is only one chain that lights up one fire. If you have Kenshi’s Blindfold you can find the other chains on the pillars nearby. Activate them and you can grab your prize.
Also while you’re here, around the left of all of the Head Spikes, you can use Kenshi’s Blindfold to find a crack in the wall. Destroy the wall and you can now enter the Dojo and open the gate from the other side.
Dragon Door
Head back to The Mountain Pass and use the Dragon Amulet on it. You can now interact with a simple puzzle with tough requirements. You need Kronika’s Amulet from the Money Shrine, Shinnok’s Amulet from The Forge and Cetrion’s Amulet from putting her head on her spike. Shinnok’s Amulet must be built at the forge using and Ensorcelled Demon’s Heart from hanging dead bodies, Ensorcelled Dragon’s Eye from Killing Spiders, and the Ensorcelled Gem of Trapped souls found in the Dead Woods.
After this is done, a gate will open and the rest of the Kytinn Hive for more chests and spiders!
If you want to see our review of Mortal Kombat 11, check it out here.

