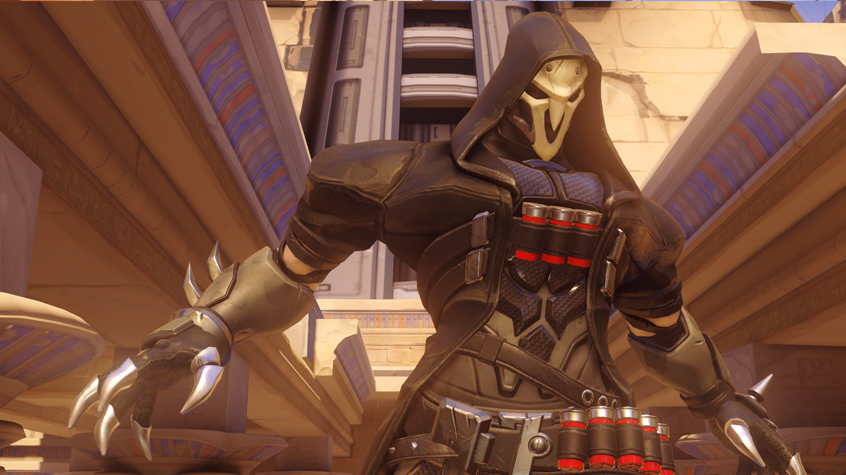
Reaper Flank In-Depth Guide – Overwatch
Overwatch’s Reaper is a flanker who excels at isolating and destroying priority targets, and being a real headache for the enemy team. As of the new patch, his new, higher lifesteal can make him surprisingly tanky. While most consider him extremely one-dimensional, there are actually a lot of really interesting interactions in his kit that enable a good Reaper player to make some great plays during fights. Today, we’ll be taking a look at all his abilities, and Shadow Stepping you through how best to play Overwatch’s real-life nightmare.
https://youtu.be/y2R7GWXPDug
The Hellfire Shotguns:
The Hellfire Shotguns are Reaper’s only weapon, but he has two of them for good measure. The recent changes reward greater accuracy with higher damage, with a reduced accuracy spread. Now Reaper’s shotguns are insane up close, but fall off quickly. Ideally, Reaper wants to practically be in melee range with his target when he fires. When flanking (and you nearly always should be as Reaper), try to wait as long as possible before alerting your enemies to your presence; that normally means sneaking up as close as possible to your enemy before beginning to let loose with the Hellfire Shotguns when it’s practically already in their back.
Reaper preys on squishy targets, ideally wanting to focus down backline healers first, like Zenyatta and Ana, before moving deeper into enemy ranks, and killing everything else in sight. Thankfully, he’s one of the quietest heroes in the game, and is effectively silent when sneaking. He is weaker against armored targets as armor reduces the damage of each shotgun pellet by a flat amount. This emphasizes his target priority on the less-defended enemy heroes and his role as an assassin striking from the shadows.
This is a good time to mention Reaper’s passive, ‘The Reaping’, which was also recently buffed. Now at a respectable 30% lifesteal from all damage, Reaper can use the Hellfire Shotguns to sustain himself through damage in fights. By isolating targets and attacking from surprising angles, a good Reaper player can minimize damage being done to them, and maximize both their own damage and therefore their lifesteal. In an ideal world, this means Reaper could potentially walk straight through the entire enemy team, mowing them down one-by-one, and continually topping up his own health bar.
This makes Reaper one of the most independent damage heroes in the game. He is built to sneak off alone and strike the enemy where it hurts most without the aid of his team. No more spamming for healing on your favorite green ninja.
Wraith Form:
Reaper’s Shift ability, Wraith Form, is actually a really nuanced tool that affords him a huge amount of playmaking potential. Used normally, Wraith form makes Reaper untargetable and boosts his movement speed, allowing you to quickly close the distance with enemies, or otherwise dash away while invulnerable. The untargetable nature of this skill means that Reaper can dodge an enormous amount of enemy abilities that would otherwise ruin his day, such as Lucio boop, Doomfist punch, Ana sleep dart, Reinhardt’s… everything. Reaper basically has a small window every 10 seconds or so where he can dodge everything.
This is obviously extremely powerful, but there are a couple other factors that raise the skill ceiling on Wraith Form and really reward game knowledge. You’ll need to play around the cooldown of Wraith Form and use these factors to best aid you in your hellish rampage. Firstly, the ability can be cancelled by left clicking, which means a seasoned player can effectively ‘fade’ through certain abilities and simply appear once again (unharmed.) Not only that, but Wraith Form also fully reloads Reaper’s Hellfire Shotguns. This means that using Wraith mid-fight to dodge an ability, re-position, and fully reload is an incredibly effective way to play – and players with good knowledge of other heroes’ kits will be able to get incredible mileage from a very straightforward ability.
Shadow Step:
Onto Reaper’s other movement ability, Shadow Step, which allows him to blink to any location he can target. This has a massive range, and can be cast from around corners and within doorways to cross open terrain invisibly. Shadow Step is absolutely amazing for gaining the high ground, from where Reaper can wait for the perfect moment to strike.
The blink can be used in combat, but fixes Reaper’s location while he channels at the start and end of the blink. This means it’s only really useful when running away if you can break line of sight, such as by running around a corner. It also means that teleporting into the enemy’s line-of-sight will almost certain result in your death, especially if they have a sniper who happens to catch you trying to be sneaky.

Death Blossom:
Reaper’s ultimate ability, Death Blossom, is perhaps one of the most hit-or-miss abilities in the entire game. It’s an AOE channel, which spreads a huge amount of damage outwards from Reaper in a sphere. It can take a while to charge, unless you are able to regularly skirmish, as you’ll be spending a good amount of time lurking out of sight. But it offers team-wipe levels of damage, especially when combined with Shadow Step to gain high ground before dropping onto unsuspecting enemies and emptying the Hellfire shotguns full-pelt. Having said that, the ability fully reloads the Hellfire Shotguns after use, so feel free to keep firing afterwards too.
Now, Death Blossom can be used to destroy single targets, but is best used when flanking behind the enemy team as it will normally mean you can bypass any shields that would otherwise block the damage. This also means that you can often drop nearby the backline healers and supports, annihilate them, and leave the enemy’s frontline stuck with you behind them with no aid on the way. Death Blossom also procs Reaper’s passive, and hitting multiple targets at once will mean massive healing, keeping you alive through a significant amount of retaliation damage as the enemy team tries to bring you down before they ‘Die Die Die!’
As such, Death Blossom can almost instantly make or break a game. Just be careful that you actually get close to your targets as it hasn’t got a huge amount of range, just like the Hellfire Shotguns themselves. Also, you will absolutely be killed while carelessly channeling Death Blossom, so good awareness of enemy positioning, vision, and catching them by surprise can be crucial. There are also some heroes that Reaper will need to avoid while ult’ing, mainly enemies with displacement abilities like Brigitte’s ‘Rocket Flail’ or Orisa’s ‘Halt’. They are able to push you away from their team, negate your damage entirely, and leave you exposed.
Despite those difficulties, a well-placed Death Blossom will leave enemies struggling to react before their health counters reach zero. Even taking one or two members of the enemy team out quickly can create a critical numbers advantage for your team that will lead you to victory.