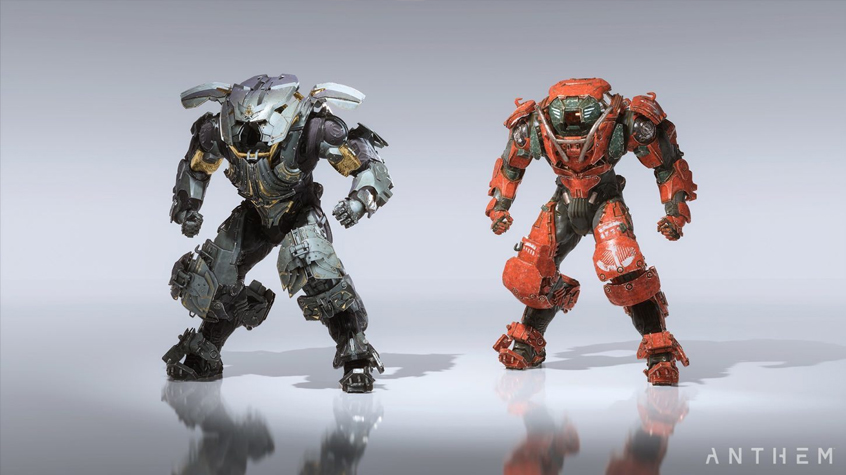
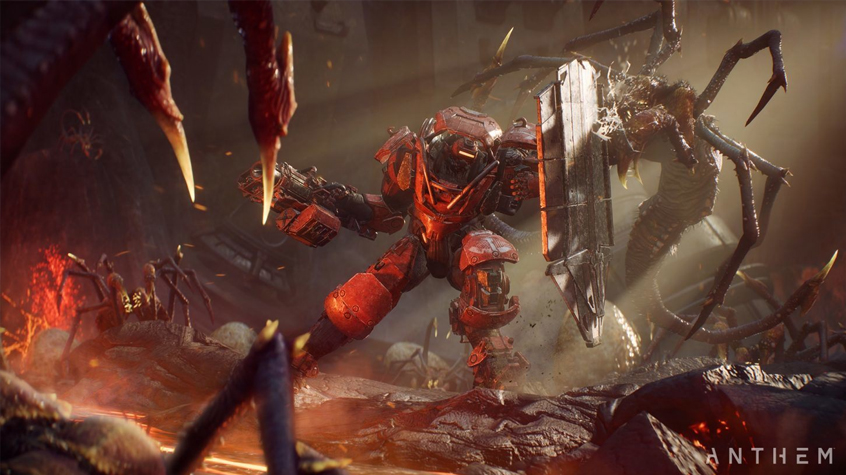
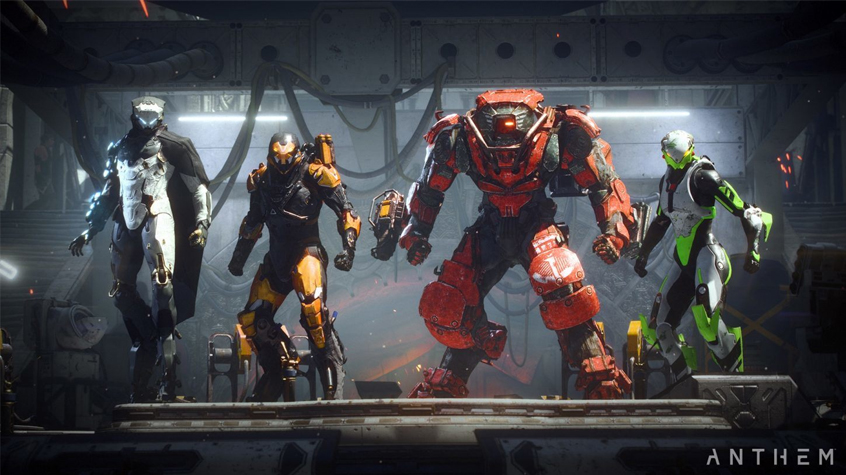
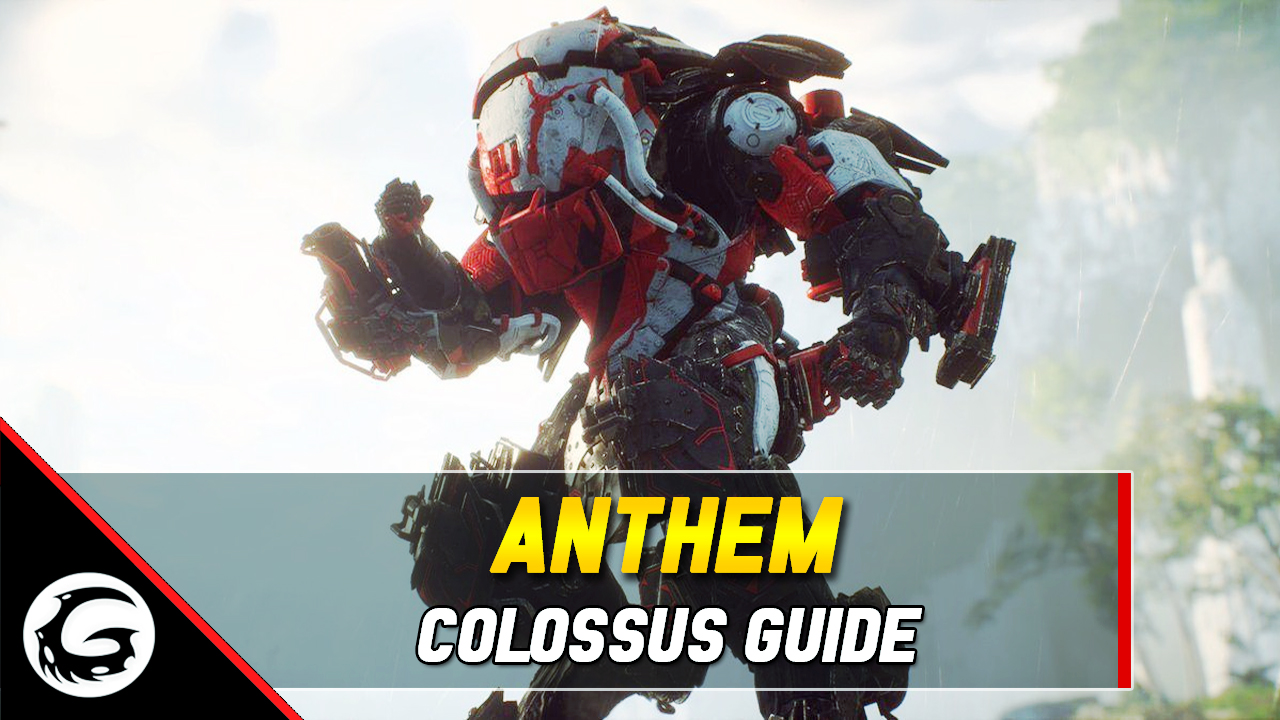
The Colossus appears, at first, to be Anthem’s answer to the tank class. It’s much more than that, however, and can actually be one of the highest-damage Javelins in the game, in addition to being unbelievably tanky too.
With a few clever ability choices and good knowledge of how the combo system works, you’ll be smashing enemies into the ground left, right and centre.
Today, I’m going to walk you through an effective build at all stages of the game, as well as how to utilise the Colossus’ kit to launch you towards end-game.
You Were Born for the Front Line
Firstly, the Colossus’ health works in a different way to other Javelins. You won’t have access to an energy shield that regenerates, or even any dash mechanics. Instead, your dash button pulls up your actual shield, which will block all projectiles and damage coming from your front-side. Used effectively, your shield can mitigate an enormous amount of damage, both for you and for any allies stood behind you. As the biggest Javelin, you’ll also be able to smash through destructible terrain and knock aside enemies with your shield equipped, which is great for disrupting large groups. Some end-game Colossus players are making builds that almost exclusively use the shield, so make sure to get used to how it works.
The shield itself has a regenerating health bar, which will quickly restore when the shield is put away. This means you’ll want to whip it out in order to block heavy instances of damage, like sniper shots or missiles, before putting it away again to regenerate. This way, you’ll always have shield health available when you need it.
Finally, the Colossus’ lack of an energy shield means that any damage you do take will detract straight from your Armour, which is your green health bar. This makes the red Health Packs dropped by enemies extremely valuable to the Colossus, and you’ll want to keep mobile in fights to ensure that you pick as many of these up as possible. This will keep your health topped-up in order to keep you in the fight.
Clever management of these packs can make the Colossus almost impossible to take down, especially in combination with your physical shield. You’ll learn over time how to manage your health-bar, but for now focus on picking the health packs up and blocking big damage with your shield.

Ideal Weaponry for the Colossus
The Colossus tends to favour short-ranged weapons with large magazines, as it tends to be in the thick of the fight nearly all the time. You can equip all weapon types except some of the lighter pistols, but in exchange you’ll get access to the heavy weapon class, exclusive to the Colossus. Generally, it’s a good idea to run your most powerful weapons in order to do as much damage as possible, so while levelling, give each new weapon you unlock a try (it will also probably be one of the strongest you have so far).
Make sure to try all the weapons you get out, so you know what they each do. Most Colossus players are running auto-cannons and grenade launchers, but while levelling you’ll just want to make sure you’re doing as much damage as possible. Remember that walking over green ammo packs will automatically add that ammunition to your magazine, too. So for larger-magazine weapons, it’s often quicker to run over the packs than to reload.
Time to Get Up Close and Personal
OK, now onto the build itself. This build uses two of the Colossus’ flashiest abilities in a great combination. Using them together, you’ll also be able to trigger combos at both long and short range, making it great for dealing with both big packs of smaller enemies and bosses at a longer range.
It also scales extremely well, meaning that as you unlock the masterwork variants of these skills, you’ll be able to transition this build into the harder difficulties with no problem at all.
It’s therefore a good idea to get used to these skills now, and while I still advocate trying all of the Colossus abilities out at least once, I can guarantee a lot of success with this build in particular.

The Build
Firstly, you’ll need the Flamethrower Heavy Assault Launcher. I’m using an epic one here, but you can simply equip your most powerful version of the flamethrower and go to town. The ability itself is simple; holding down the cast button will launch a continuous stream of deadly flames at a good range. Remember that fire damage does bonus damage to armour (regular health), so this is great for clearing trash mobs and killing big bosses, who often have no blue shields to speak of.
Over time, this ability will set enemies ablaze. This is called ‘priming’ them with an element, and means that any ‘detonator’ abilities will trigger a ‘combo’ for extra damage. It’s worth knowing that you can only set targets on fire this way if their energy shields are down, so you’ll need to wear down elite enemy shields before you can prime them.
In your second ability slot, you’ll want to equip the High Explosive Mortar, in the Ordnance Launcher slot. There are a few mortar abilities to choose from, so make sure this is the correct one. You want the HE Mortar in particular because it’s a ‘detonator’, shown by the little star icon next to its name. This means that it will detonate any primed (in your case, on fire) enemies for massive damage.
It also has a massive range and good area-of-effect damage. This makes it great for killing all types of enemies, but its arc-style aiming takes a little while to get used to. It’s a great ability though, and useful in nearly all situations.

The Rotation
So, your full rotation of abilities will look like; if the enemy has shields, knock them down with your primary weapon/flamethrower, then prime them with the flamethrower. You’ll know they’re on fire due to the little red icon next to their health bar. You can then detonate your combo by shooting them with your mortar for massive AOE, combo damage.
It’s also worth knowing that the Colossus has a melee attack that will instantly detonate a combo too, which is extra handy for when your mortar is down or enemies are up close. This is extra awesome, because the Colossus’ passive effect will create an explosion whenever your melee attack detonates a combo, meaning that packs of enemies can be instantly deleted with your flamethrower-melee punch combination.
Other Equipment
As for your other equipment, I recommend the ‘Shield Pulse’ support skill while levelling, as it will massively increase your endurance for both yourself and your allies. It’s a great skill, and you should use it whenever you’re in the thick of combat for a boost in tankiness.
As for your components, you’ll want to be equipping as many high-level components as possible, and it doesn’t really matter which until late-game. However, make sure to equip the Shield Reinforcement, and Armour Reinforcement skills if you can, because those will really boost your survivability. Otherwise, anything that boosts your damage is great.
Finally, your Ultimate is a fixed skill that deals an absolute ton of damage. I’d simply recommend using it whenever it is available and there is a suitably large pack of enemies or a tough boss to shoot it with. It’s a great Ultimate, and super fun to use, so there’s no reason to hold it back!

Me Colossus, Me Smash
And that’s it. The build is super simple and extremely effective, and also extremely fun too. You can also look forward to working towards the Masterwork versions of your abilities, which are really insane once you reach end-game of Anthem. It’s a build that’s served me incredibly well no matter the mission or enemy type, and I’m sure it will for you too.
The Colossus is a really strong Javelin right now, and in the right hands it can be an incredible tool of destruction that is almost impossible to bring down. Keep working on triggering those combo-effects, remember that enemies with energy shields can’t be primed by your flamethrower until you take them down, and that both your mortar and melee attacks will detonate the combo’s for massive damage. Bear that in mind and get stuck into the fight.
That’s it for the Colossus Guide. Hopefully you can go out beyond the walls of Fort Tarsis and show some enemies you mean business now. Enjoy using this throughout the levelling process, and even when you hit 30 it’s a great build with some real independence, as you can combo all by yourself without consideration for what abilities your allies have brought.
If you liked the guide, drop us a Like, and Subscribe for more Anthem content coming right your way.
Thanks for stopping by, I’ve been FaultyOptics, and I’ll see you all next time for more gaming guides and news.
Hungry for more Anthem? Check out our other content:
ANTHEM NEW LOOT AND STATS GUIDE
ANTHEM PATCH 1.0.3 UPDATE & DISCUSSION (+GAMEPLAY)
No related posts.


